Whether the voltage stabilizer is used at home or in the factory, it needs to be installed first, and the wiring is inseparable from the installation. Here, ATO has sorted out the installation-related precautions, as well as the specific steps for installation and wiring.
Voltage Stabilizer Installation Instructions
- Connect the input of the voltage stabilizer to the power distribution board, and install a fuse that meets the power guarantee rate of the instrument on the user power distribution board to ensure the safety of electricity use.
- Connect the power supply of the electrical equipment to the output terminal of the stabilizer. Note that the rated input voltage value of the electrical equipment should be consistent with the output of the voltage stabilizer, and do not connect incorrectly.
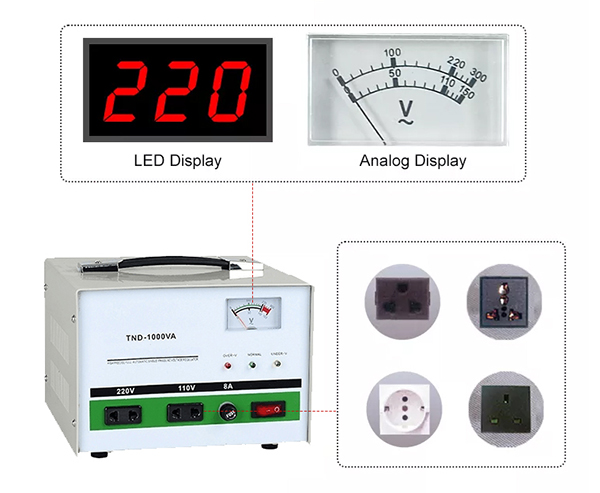
- Turn on the power switch of the voltage stabilizer, the working indicator light is on. Observe whether the indicated value of the voltmeter is normal. When the output voltage is normal, turn on the power switch of the electrical equipment, the voltage regulator will automatically adjust the voltage and supply power normally.
- When the electrical equipment is not used for a long time, please turn off the power switch of the electrical equipment to reduce power consumption and prolong the service life of the voltage stabilizer.

- The voltage stabilizer shall not be overloaded. When the mains voltage is low, the output capacity is reduced, and the load of the voltage stabilizer should also be reduced accordingly.
- When the selected electrical appliances include refrigerators, air conditioners, water pumps and other equipment with electric motors, a voltage stabilizer with a capacity of more than 3 times should be selected to avoid the starting current of the equipment exceeding the fuse current of the voltage stabilizer.
- The wire connected to the voltage stabilizer should have enough load surface to prevent heat generation and reduce voltage drop. Voltage stabilizers with a capacity of more than 2KVA are connected by terminals, using a single copper wire, and the terminal screws should be tightened as much as possible to prevent the joints from heating.
- For single-phase or three-phase voltage stabilizers, after connecting all input and output lines, first turn off the power switch of the load, and then turn on the voltage regulator. After checking that the output voltage is normal, turn on the power switch of the load again.
Voltage Stabilizer wiring Instructions
Voltage stabilizers are divided into 220 volts for home use and 380 volts for industrial use. Voltage stabilizers for homes can be divided into hanging and vertical types, and the 220V versions’ connection is the same. Here is the wiring method of ATO TND series 500VA-10kVA desktop 220V voltage stabilizer.

- Unpack the voltage stabilizer and open the rear wiring cover.
- Strip the wires, unscrew one end of the input with a screwdriver, then separate and tighten the live wire.
- Connect or insert the other end of the connecting wire into the plug-in board or air switch. (The input power supply has been connected here, you need to check whether it is connected firmly. Otherwise, it will cause sparks, electrical aging, etc.)
- Connect the load to be driven (such as one end of a computer, air conditioner, etc.) to the output port of the voltage stabilizer. Refer to step 3 to check that the wires are securely connected.
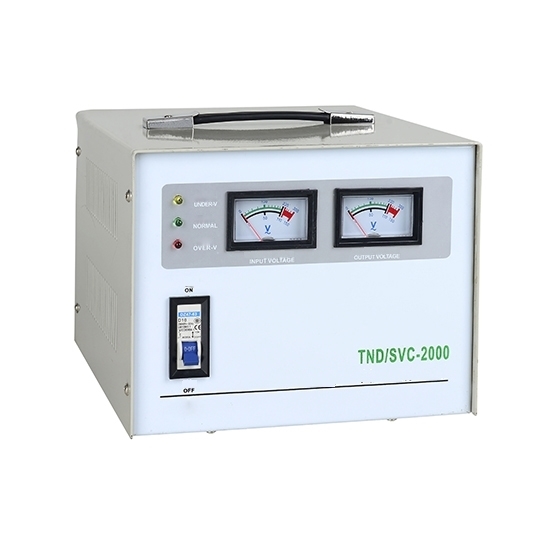
- After completing the above steps, open the circuit breaker on the voltage stabilizer, push it to the ON position, and complete the power-on. The built-in circuit board control of the voltage stabilizer needs to wait 3s-5s to stabilize the voltage. Observe that the meters on the voltage regulator indicate 220 volts, and if possible, measure the input and output terminals with a multimeter.
- Tighten the disconnected rear wiring cover to complete the installation.
